Courtesy of DNEG Animation and Howdybot Productions
How to create animation
No one can deny that animation is captivating. From the earliest 2D animations of the 1920s to today's ubiquitous 3D animated TV series, games, and films, there's a certain joy in seeing a fictional world come to life through this exciting art form. And it’s even more fun to do it yourself!
Early animation was done with traditional drawing tools like pen and paper, but these days, most of it is done with software. Technology has now advanced to the point where just about anyone can create animation with an ordinary PC, using software (often for free) that has made the process much faster and accessible.
What you can animate
Animation implies motion, but it can consist of different kinds of motion. Anything that can move can be animated, but different types of movement/motion can vary in complexity and requirements. It is also possible to animate things that don’t move in real life.
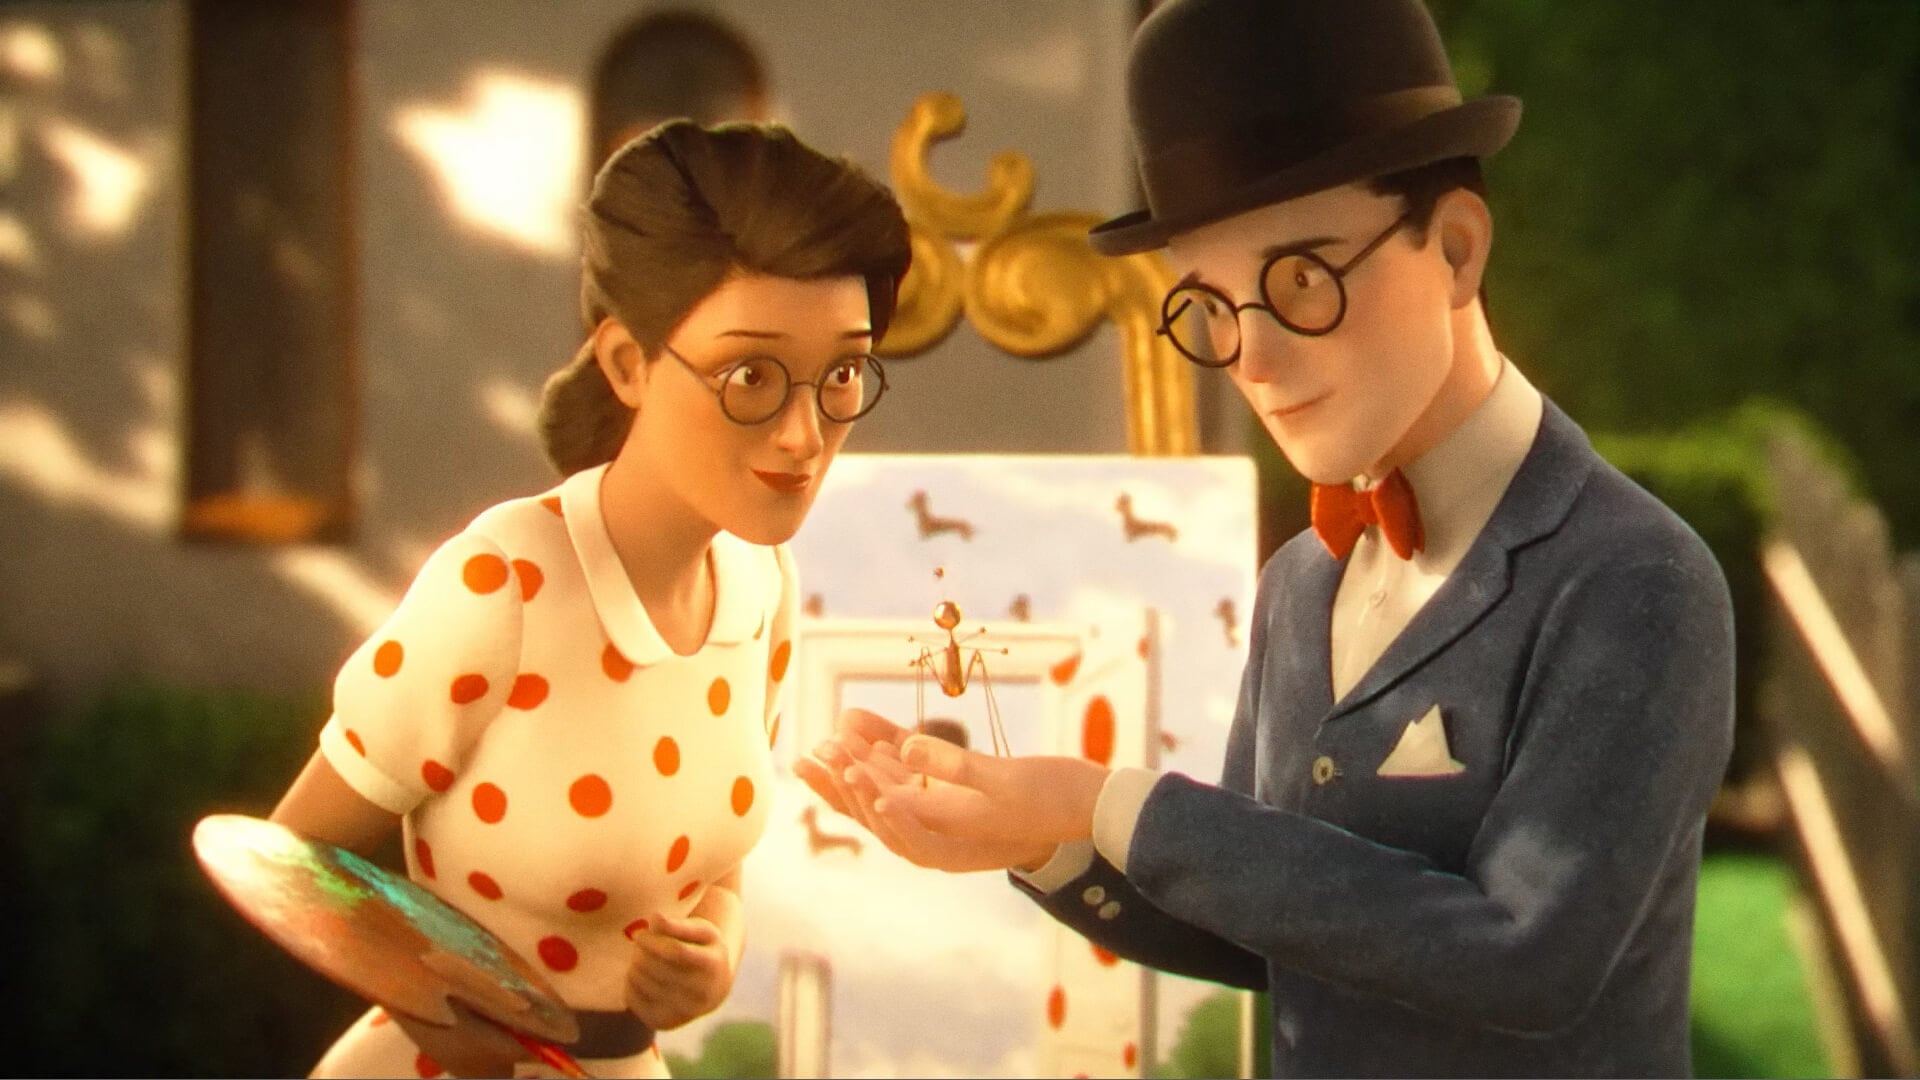
Characters
One of the most common types of animation brings humans, animals, and objects to life. This category can also include anything that moves like a human or animal, such as puppets, robots, and monsters. While character animation is probably the type you’ve seen the most, it can also be the most challenging to create. For one thing, a 3D representation of a living human or animal needs to deform (bend and stretch) at joints like elbows and knees, which usually requires an invisible skeleton to be placed inside the character to control it. The visible character itself is called a skin, and the skeleton and its controls are called a rig. Fortunately, skinning, rigging, and animation are much easier than they were five to ten years ago, with new tools being released regularly.
Objects
This category includes the animation of solid physical items, such as props, furniture, and vehicles. Some examples of this type of animation include opening a door, rolling a bowling ball, and moving a car down the road. This type of animation is easier to accomplish because these objects tend to just move or rotate as a whole, not bend or stretch like a living creature. Anything with hinges or movable parts is more complex to animate, but many items can be animated by simply moving or rotating the entire object.
Lights and cameras
Some very compelling animations consist of little more than changes to the lights or camera. For example, lights can be animated to change color or brightness, and a camera can fly through a scene to simulate a drone shot.
Courtesy of Treehouse Digital LTD
Visual effects
Fire, flowing water, rolling fog, and explosions are all examples of animated visual effects.
Yuki 7 is a Chromosphere Production
Types of animation
2D animation
This form of animation consists of drawn images. The TV show The Simpsons is an example of 2D animation. While most professional 2D animation is done with software nowadays, beginners and students can experiment with this medium with just paper and pencil. Flipbooks are another example of 2D animation.
Stop motion
This type of animation is created by photographing puppets, clay figures, and other physical objects. Animators move an object slightly and take a photo, then move it again and take another photo. If you have dolls or clay, a camera, and a laptop or computer, you can do stop motion animation.
3D animation
In this genre, characters and objects are represented as 3D models on a computer, each one formed from geometric shapes. This type of animation started developing in the 1970s, and got a boost in popularity when the movie Toy Story debuted in 1995.
Example of a 3D model for animation
Up until the 1990s, most animation for film and TV was done as 2D animation. In recent years, more and more films have adopted 3D animation, either as the sole production method or as a way to augment 2D animation.
It is not uncommon for productions to mix animation types. For example, the dinosaurs in Jurassic Park (1993) were created with a mix of animatronics (a type of mechanized physical puppet) and 3D animation.
The type of animation you choose to do depends on the needs of your project, and your skills and resources. Any one of them is perfectly fine to do. The style you choose will determine the tools you’ll use.
Animation tools of the trade
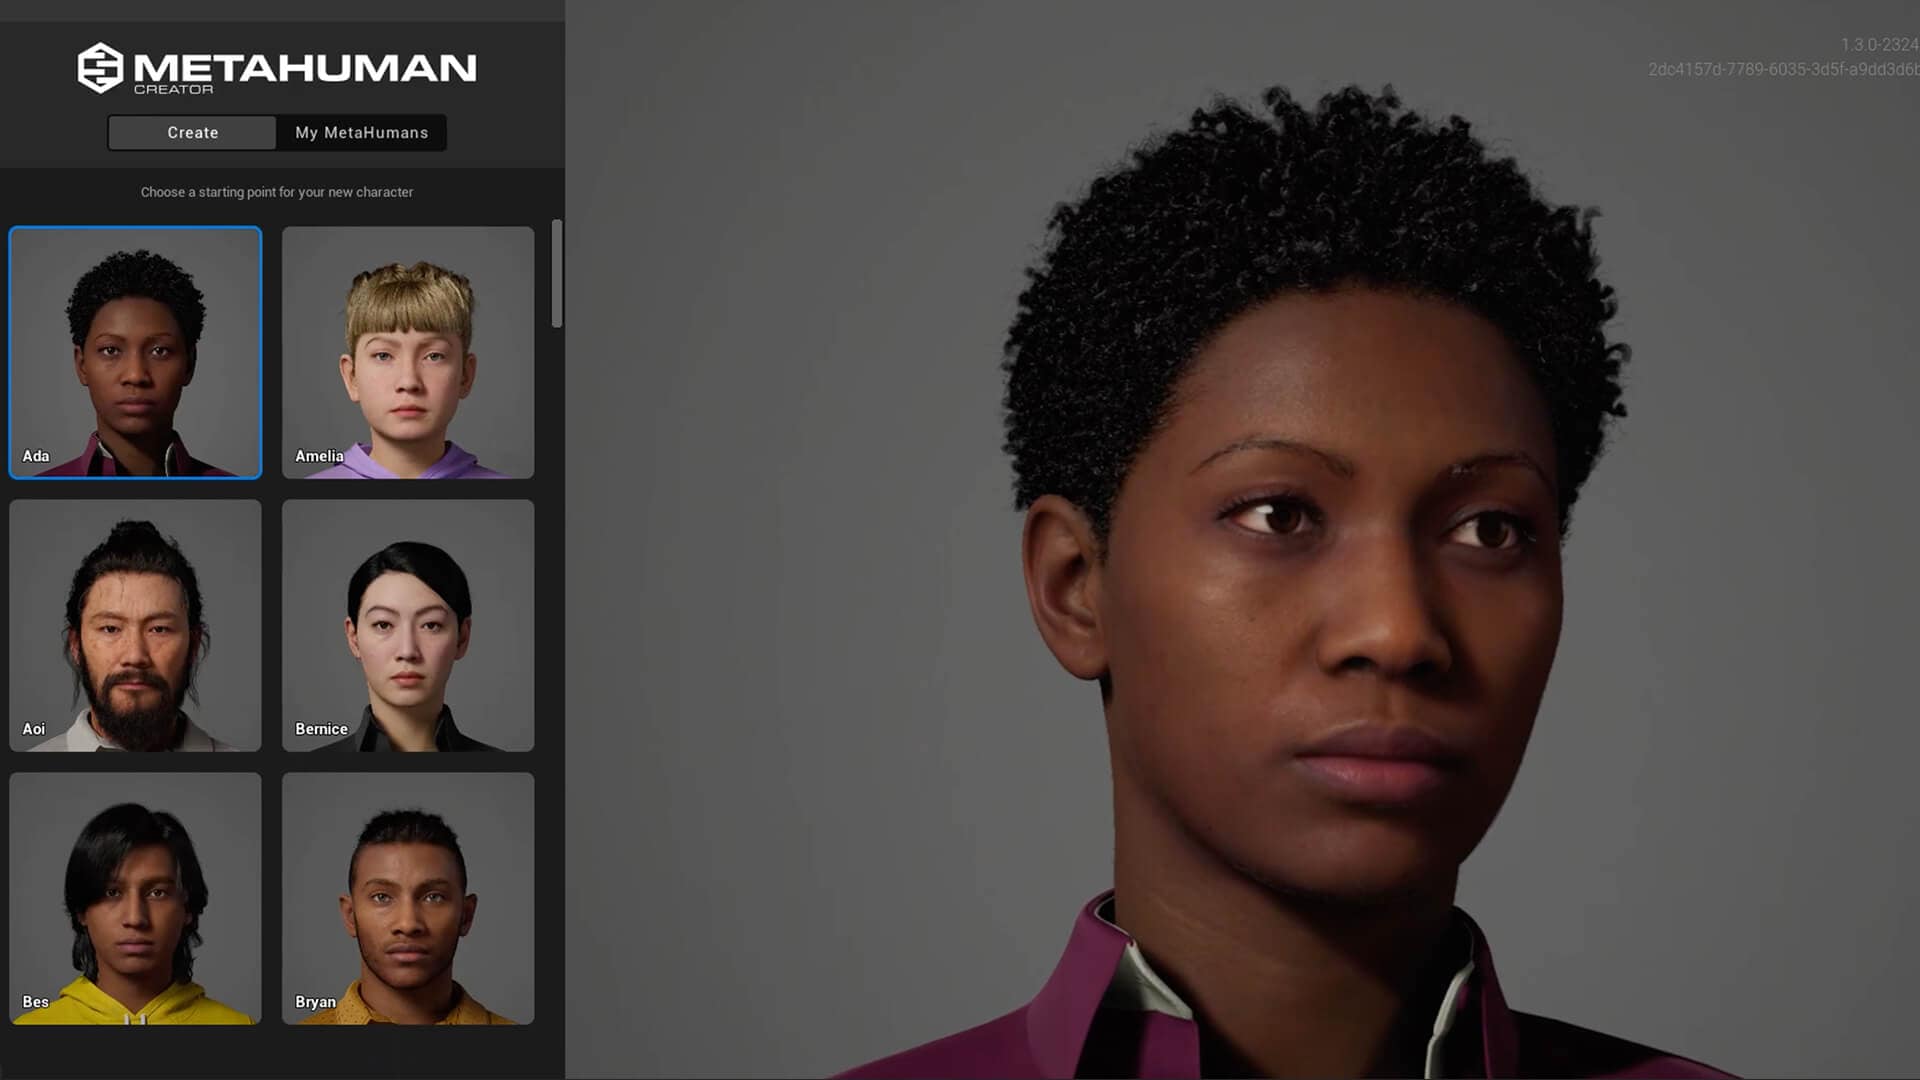
For 3D animation, you’ll need to create or gather animation-ready 3D models, and a means for animating them. When you’re first starting out, you can speed up your process by using premade 3D models and animating them in Unreal Engine. These models—many of them free—are available in the Unreal Engine Marketplace, TurboSquid, and Sketchfab. You can also import your own animation-ready, photorealistic human models with our MetaHuman tools.
For creating with 2D animation, you can either draw the frames on paper and shoot them with a camera, or use software especially designed for 2D animation, such as Toon Boom and Pencil2D. These tools are also useful for storyboards (which are explained later in this article).
For stop motion animation, you’ll need a camera to shoot the action. For both 2D animation and stop motion animation, the camera should be fixed or mounted on a tripod in such a way that it doesn’t move during the entire process.
No matter which method you choose, you’ll need to edit the piece together at the end to make it into a movie. Editing consists of putting the scenes in the right order, and adding sound. To do this, you’ll need a nonlinear editor.
If you animate with Unreal Engine, you can use the built-in Sequencer module to put together shots and sequences. You can also use standalone software like Adobe Premiere Pro and Avid Media Composer, and free alternatives such as DaVinci Resolve, HitFilm, and iMovie (macOS only).
The animation pipeline
To successfully create an animation, you’ll need to do some preparation, and some finishing at the end. Let’s take a look at the steps involved.
Start with an idea
The first step in any animation project is an idea of what you want as your final result. Perhaps you’ve been inspired by a song, or have always wanted to tell a particular story through animation.
An animation is, fundamentally, a short or long film that tells a story. Every animated story has characters of some kind, whether they’re people, animals, robots, misbehaving household objects, or planets and spaceships involved in a galactic war.
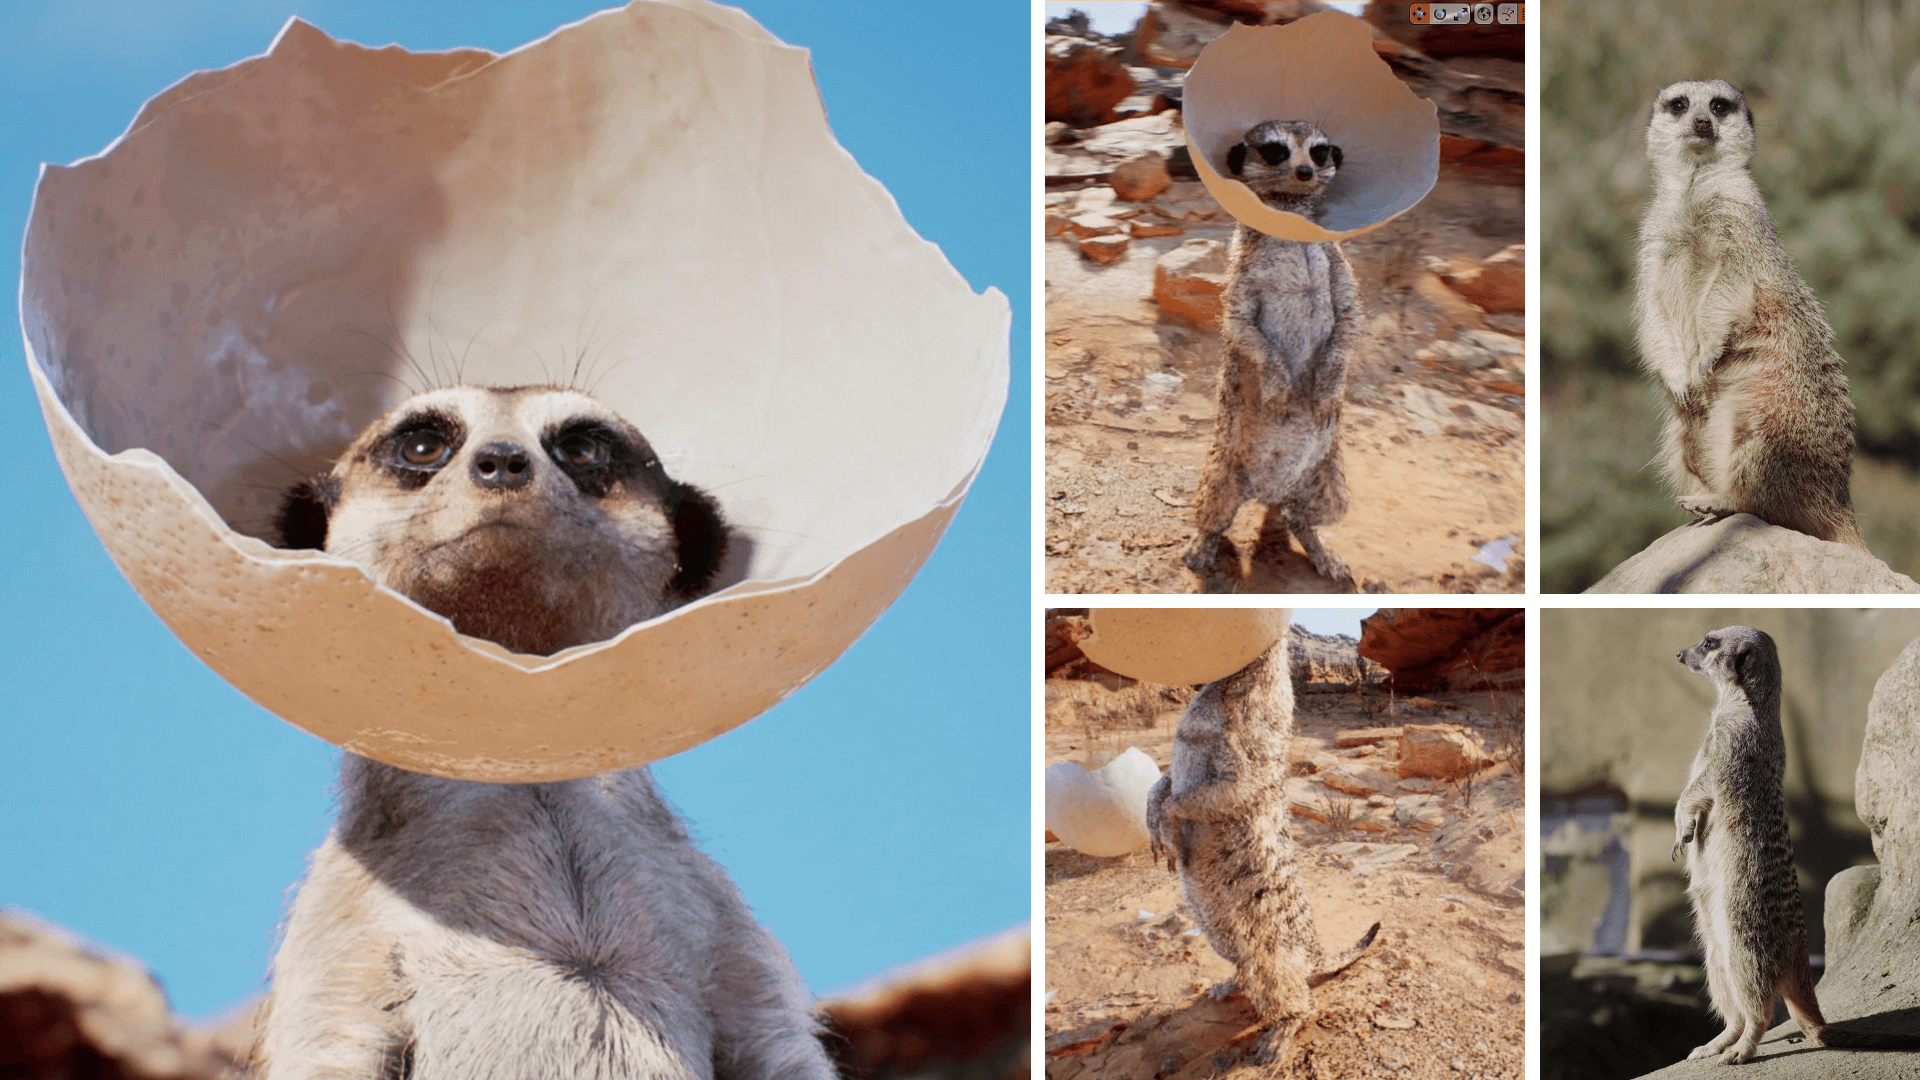
Find reference material
Like any artist, an animator needs reference materials to make their work look good. If your main character is a penguin, for example, you’ll need to study how real penguins actually look and move. If the piece involves a bouncing ball, you’ll need to look at the timing of the way a ball bounces in real life.
Studying these reference materials will help you make the best animation possible within your skill level.
Plan animation with storyboards
As with any storytelling, some planning is involved to hit the right “beats”—the major action or plot points in the story—so your audience will get the story’s message. Filmmakers working with live action do this with a script broken into scenes and shots. Even if your animation has no dialogue, you should follow the same practice.
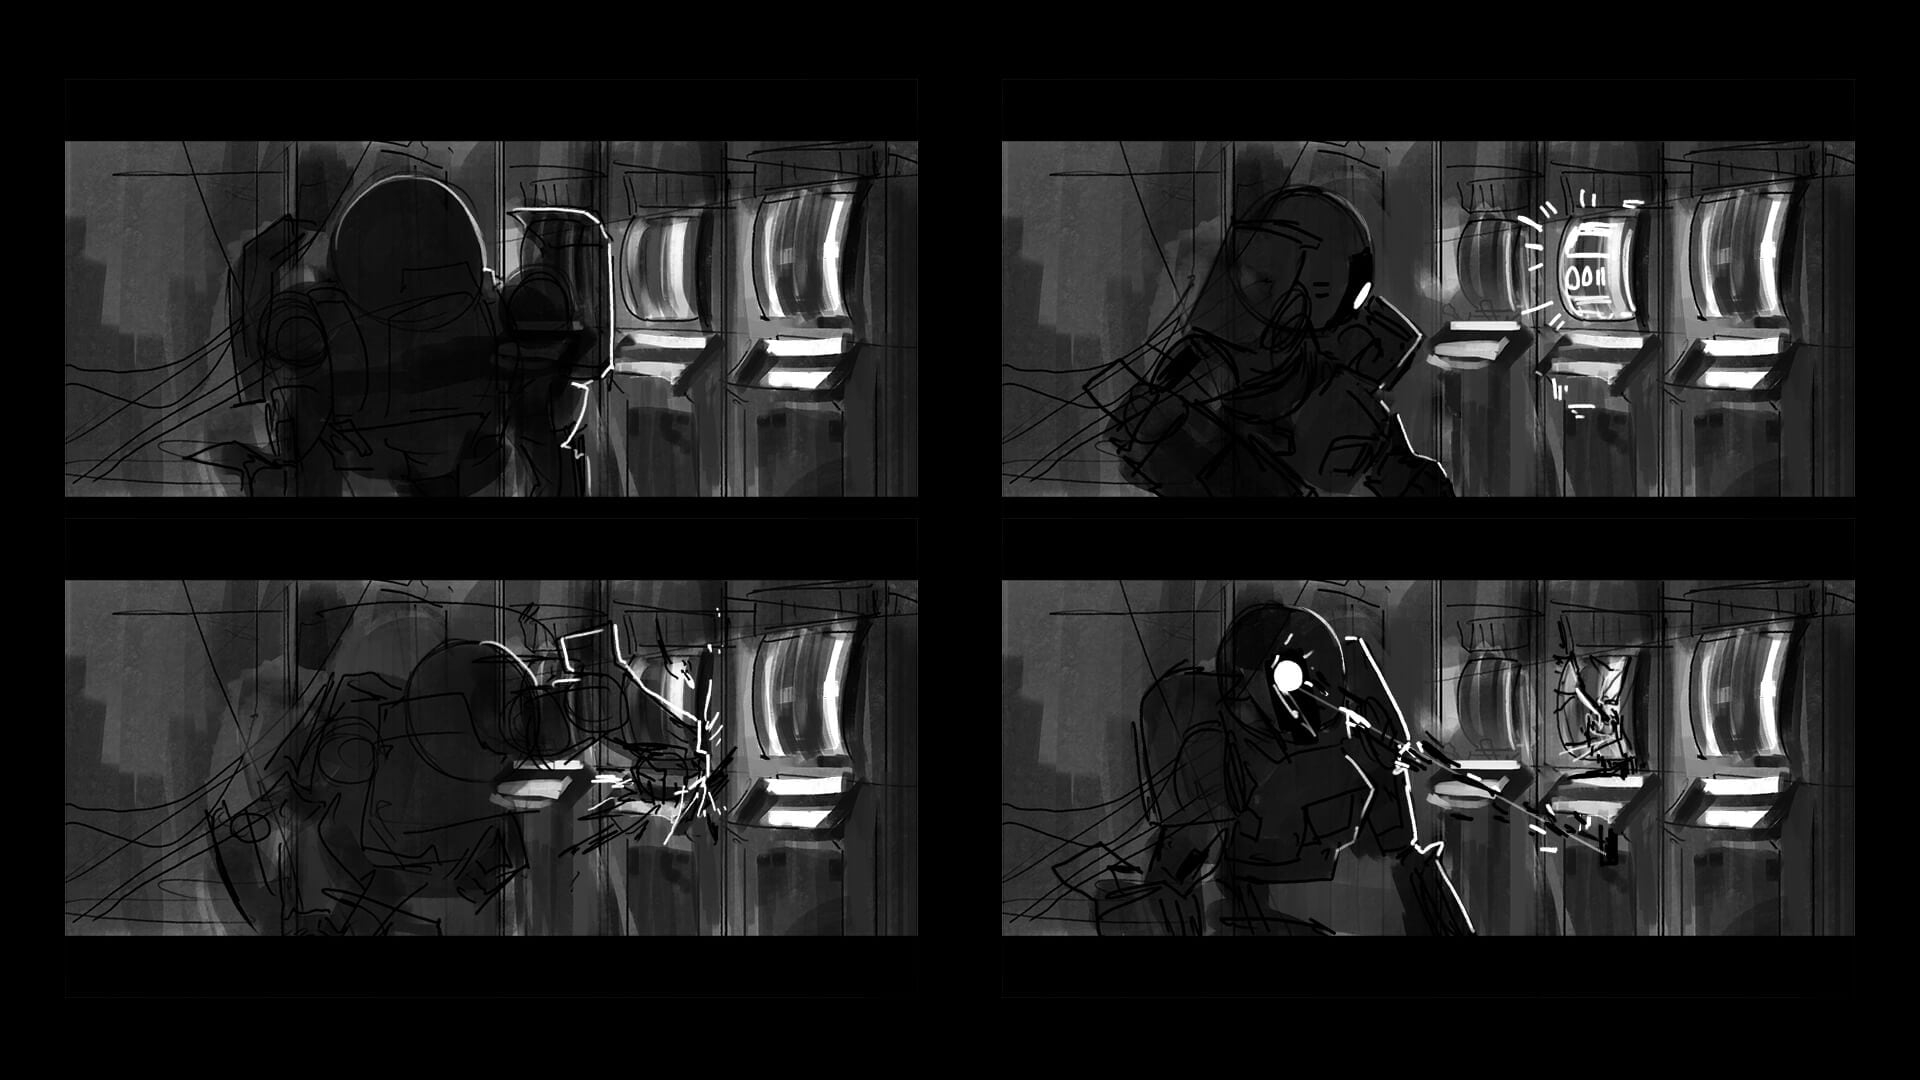
The most common planning tool for animators is the storyboard, a series of panels showing the major actions to take place, in sequence. Think of it as a roughly drawn graphic novel, with accompanying text describing the action and timing. Your storyboard drawings don’t need to be works of art, but they do need to communicate the key beats of the story, one by one.
Many animation artists draw storyboards by hand, but if you prefer to use the computer, most 2D animation tools will do the job. Unreal Engine users can use plugins like Epos to put together a storyboard in the engine.
Uplink concept art created by Laith Shewayish
Storyboards serve several functions. The first is that they’ll give you a rough idea of the length of the piece. They can also help you figure out whether the story is working, or if you need to add more scenes or replace a boring beat with something more interesting.
Use the storyboard to break up the animation into scenes and shots. Generally, each time you change the location, it’s a new scene. Each time you change the camera angle, it’s a new shot.
Consider your output
Part of the planning process is to consider what your eventual output media will be. Do you intend to put it on YouTube, or make an animated GIF for your website? Are you planning to show it as a projected film?
The answer to these questions will guide you toward two important decisions: frame rate and resolution. The frame rate is expressed in frames per second, or fps. Film is usually shown at 24 fps, so if you’re going for a film look you should work with that frame rate. However, much of the video content you see on sharing platforms like YouTube and Instagram is produced at 30 fps. For getting started, you can work with one of these frame rates, or check the recommendations given by the platform where you intend to share your work.
The next choice you need to make has to do with resolution, that is the number of pixels (colored dots that make up the image) in the width and height of the finished piece. A common resolution for YouTube, Vimeo, and other video platforms is 1920 x 1080. TikTok, Facebook, Twitter, and other social media platforms each have their own recommended resolutions. Keep in mind that higher resolutions look better when played back, but will also result in larger file sizes and will require greater bandwidth when streamed.
You’ll need to know the frame rate and resolution before you start working on your animation project. These settings are easy to make at the beginning of a project but hard to change later, so ideally you work them out before starting to animate in earnest.
If you’re using software to create your animation, you can set the frame rate and output resolution in the software’s settings. If your process calls for shooting pictures or figures with a camera, you can shoot at the frame rate you choose with a camera that will support the resolution you want.
Test your animation tools
Before embarking on making an animated story with tools they haven’t used before, most animators start out by doing a short test project. The test project can be just a few seconds long, but it will help you work out the kinks in the process, and serve to give you confidence that you can do the full project with the tools you’ve chosen.
Create or gather your assets
Next, you’ll need to create or find your assets, the environments, objects, and characters that you’ll use to tell your story, using one or more of the tools mentioned in the “Tools of the trade” section above.
Another thing to consider is the sound you’ll use for your animation. If you’re using dialogue, you’ll need to record it. If you’re planning to use music, you’ll have to source a soundtrack.
When choosing assets, music, and sound effects, be sure to check the copyright implications of using these elements. There are many places online to find free or inexpensive assets, music, and sound effects that you can use without concerns of violating an artist’s copyright.
Start animating!
Now you’ve got everything you need to start working on your animation project in earnest. Set up your tools for your chosen frame rate and resolution, and get to work. Use your storyboards and reference materials to guide your work through the project.
The usual method is to work on one scene at a time, and put it all together later, in the editing phase.
Render your scenes
The use of 3D animation requires you to render each frame of your animation, which means turning what you see on the computer screen into individual image files that the computer can form into a movie. Depending on the software you use and the complexity of your scenes, this process can take anywhere from a few minutes to several days. Be sure to render out the scenes at the required resolution for your chosen platform.
Professionals usually render each frame to its own image file, then pull the frames together during the editing phase to form a movie. This practice means that if any one frame doesn’t turn out as expected in a traditional renderer, you just have to re-render that one frame after fixing the problem, rather than rendering the whole sequence again.
If you use Unreal Engine, which renders in real time on screen, you can see the animation develop as you work, and a five-minute animation can take as little as five minutes to render and save to disk. With such a quick rendering time, it isn’t as necessary to render each frame to an individual file—you can render directly to a movie file format like MP4, MOV, or AVI, and play the file back immediately to review it. If you find something that looks wrong in the movie file, you can simply re-render the entire sequence after you fix the problem.
Edit your animated video together
With all your scenes ready, you can now edit them together into a single animated film. This is where you’ll pull together your individually rendered frames or movie files and place the scenes in the right sequence. It’s also where you’ll add dialogue, sound effects, music, opening titles, and closing credits.
From your editing software, you’ll output the final movie to your chosen file format at your chosen frame rate and resolution.
Show your work
Now you’ve reached the proud moment when you show your work. Upload it to your chosen platform and share it with family and friends.